

In recent years, the rise of social media influencers has transformed how people connect, create, and inspire others across the globe. More and more creators are capturing their journeys and engaging with viewers worldwide, building lively communities from the comfort of their own homes.
According to Apartments.com’s February 2026 renter survey, 12% of renters identified as income-generating social media influencers.
If you've ever dreamed of turning your apartment into a content studio, you’re not alone. Read on to explore how to find the right spot, pick the best gear, and set up an amazing-looking space—no matter your apartment’s size.
Lease Considerations Before You Begin
Before you start setting up your influencer studio, it's important to check your lease for any restrictions or guidelines. Some rental agreements may prohibit commercial filming, extensive video recording, or activities that create excessive noise and could disturb neighbors.
Be mindful not to cause any damage to walls, floors, or fixtures—use removable hooks and renter-friendly decor whenever possible. Communicating with your landlord about your plans can help avoid misunderstandings and keep your studio setup smooth and stress-free.
With these initial considerations addressed, it's time to focus on designing a functional and inspiring creative space that aligns with your personal style and professional needs.
1. Location, Location, Location: Finding Your Spot
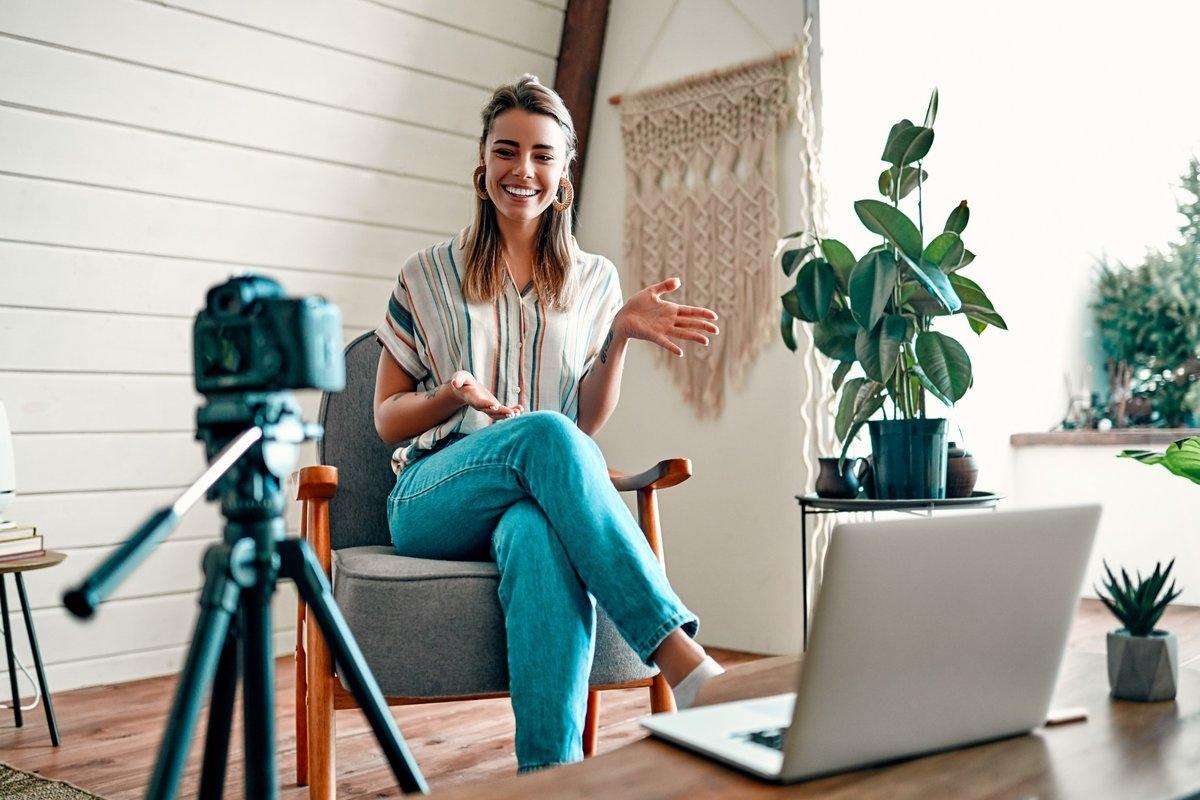
The first step is to scout the ideal location within your apartment. This small decision has a huge impact on your final product. You're looking for a dedicated zone that you can either leave set up or convert quickly for filming.
Scout for the best corner
Walk through your apartment and look for a wall or corner that can serve as your primary backdrop. Consider areas that are slightly out of the main foot traffic paths, like a section of your bedroom wall or a corner in your living room.
Key factors to consider:
- Natural light: Find a spot near a window. Natural light is a content creator's best friend. It’s free and creates a soft, beautiful look. Even if you plan to film at night, understanding how the light hits this spot during the day gives you more options.
- Background clutter: Look for a spot with a simple, non-distracting background. A plain wall is a blank canvas. Avoid areas with busy doorways, awkward architectural features, or clutter you can't easily move.
- Noise levels: Pay attention to ambient sound. Is this spot right next to a noisy radiator, a busy street, or your roommate's TV area? Minimizing background noise from the start will save you major headaches in post-production.
If you’re in tight quarters, think multipurpose. Can your desk double as a filming station? Can a corner of your living room be transformed with a portable backdrop and then packed away? The key is finding a space that works for your life and your content.
2. Essential Equipment: The Non-Negotiables
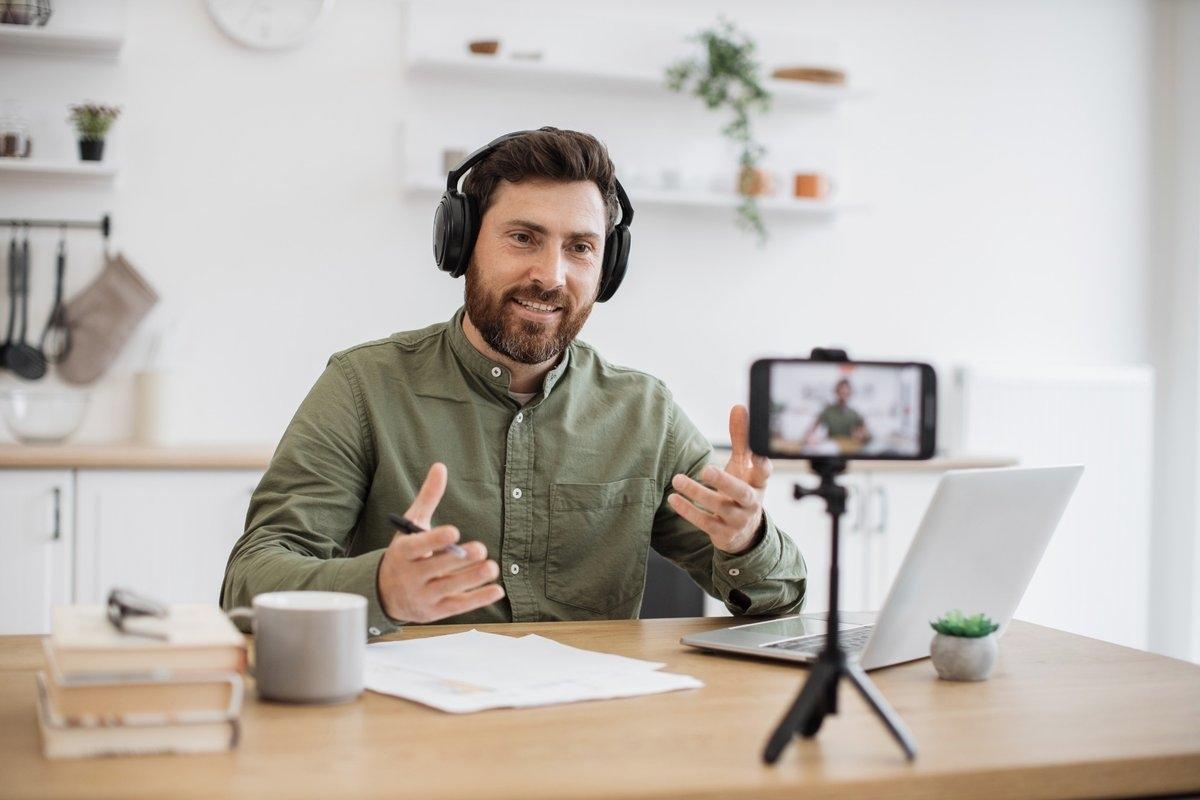
Once you have your spot, it's time to gear up. While you can spend a fortune on equipment, you only need a few key items to achieve a professional look.
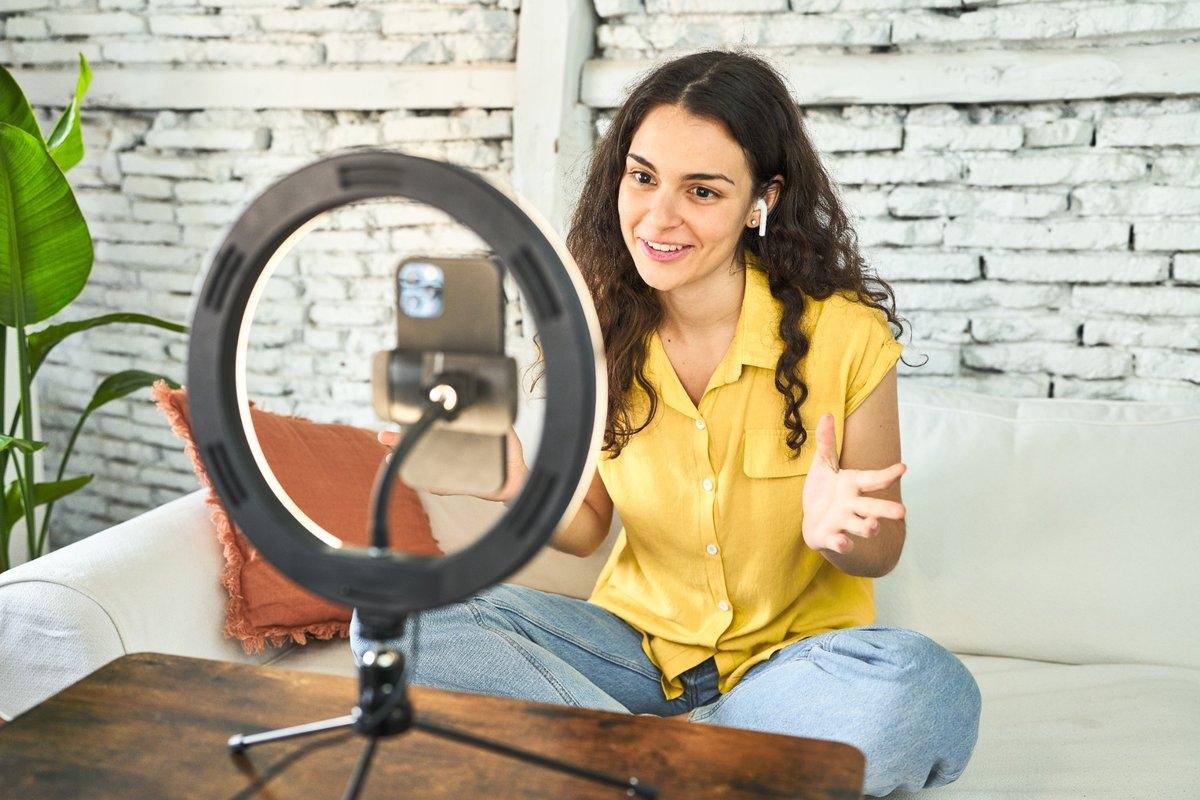
Lighting is everything
If you buy one thing, make it a quality light. Good lighting instantly upgrades your video by making it clearer and more appealing to the eyes. The classic three-point setup is great, but in small apartments, a single, strong light often does the trick.
Start with a single, bright light. A ring light gives a refined look, while a softbox makes things look natural. Either is a solid first purchase; add more lights only if you need them.
Pro camera equipment isn’t necessary
You don’t need a fancy camera to get started—your smartphone likely shoots high-quality video already.
If you want to upgrade, try a beginner DSLR or mirrorless camera for more control. But focus on lighting and composition first—even the best camera can’t fix poor lighting. Great lighting makes any phone video look better than a poorly lit clip from even the best camera.
Crisp audio is crucial
Good video is important, but bad audio will drive viewers away fast. Your phone's mic works in quiet rooms but often picks up unwanted noise and echo.
A simple upgrade to your mic can instantly improve your audio quality.
- Lapel mic: This tiny microphone clips onto your shirt, ensuring your voice is always clear, no matter how far you are from the camera.
- USB microphone: Perfect for voiceovers or if you're sitting at a desk, a USB mic provides rich, studio-quality sound with a simple plug-and-play setup.
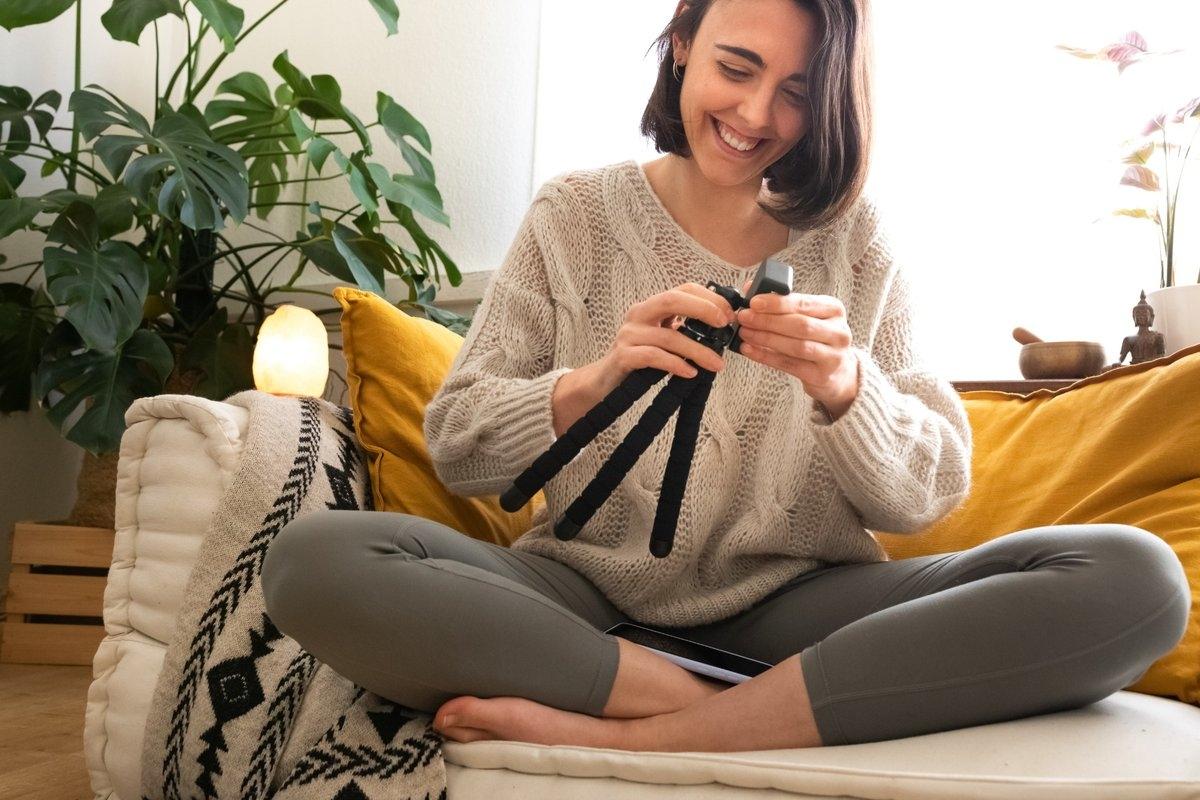
Stability: No shaky videos
Shaky videos can be an instant turn-off to viewers. Don’t trust that you can keep your hands still for the duration of a recording. Use a tripod to keep your shots steady, free up your hands, and easily get the right angle. A lightweight, adjustable tripod with a phone mount is ideal.
3. Budget-Friendly Studio Hacks

Creating a great studio doesn't have to drain your bank account. With a little creativity, you can achieve a high-end look for less.
DIY lighting solutions
- Use household lamps: Don't underestimate the lamps you already own. Position a tall floor lamp or a desk lamp to act as your key light. You can soften the harsh bulb by bouncing the light off a white wall.
- Harness the sun: Film during the "golden hour"—the period shortly after sunrise or before sunset—for soft and warm light. Take advantage of natural lighting and position yourself facing a window to get beautiful, even lighting on your face.
Create the perfect background
- Fabric or sheets: A simple piece of fabric, a flat bedsheet, or a curtain can be hung on the wall to create a clean, uniform background.
- Peel-and-stick wallpaper: For a more stable but still renter-friendly option, use peel-and-stick wallpaper to create a stylish accent wall in your filming corner.
- Creative decor: Use floating shelves to display a few curated items, hang some simple wall art, or add a plant to bring life and personality to your background. A clean, minimalist wall is also a fantastic choice.
DIY sound dampening
Echoes can make your audio sound hollow. Soft surfaces absorb sound. You can help soundproof your space by laying down a thick rug, hanging blankets on the walls just out of frame, or strategically placing pillows.
4. Maximizing Your Space: Tips and Tricks
In a small apartment, every inch counts. Smart organization and clever composition will make your studio feel bigger and more functional.
Think vertically
Use vertical space for storage to keep your floor clear. Install floating shelves above your filming area to hold props, decor, or even small pieces of gear. A tall, narrow bookshelf can also store equipment without taking up much floor space.
Choose collapsible gear
Invest in equipment that can be easily stored. Look for collapsible softboxes, light stands that fold up compactly, and tripods that can also function as a selfie stick or monopod.
The less space your gear takes up when not in use, the better. Keep everything in a dedicated storage area or bin that you can slide under your bed or tuck into a closet.
Composition hacks to look like a pro
- Rule of thirds: Imagine your video screen is divided into a 3x3 grid. Position yourself or key elements along these lines or at their intersections. This creates a more balanced and visually interesting shot.
- Create depth: Don't stand against your background. Putting a little space between you and the wall creates depth, making your space look bigger and your shot look more dynamic. Add a small lamp or a plant in the background to enhance this effect.
- Shoot from a good angle: Position your camera at or slightly above eye level. This is generally the most flattering angle.
Your Home Studio Is Within Reach
With the right spot, a few key pieces of gear, and smart space-saving hacks, you can build an influencer studio that really stands out. Start simple—focus on good lighting and clear sound—then let your setup grow with you as your channel evolves. Now’s the time to hit record and bring your creative vision to life!
Frequently Asked Questions
What’s the best spot in my apartment for a studio?
Choose a space with ample natural light, minimal noise, and a clean background. Near windows or in a quiet corner often works best.
What lighting options are best for small spaces?
A ring light or softbox lighting is ideal for small spaces. If you’re on a budget, natural light from windows can work wonders.
How can I make my studio look professional on a budget?
Use affordable decor like string lights, plants (real or artificial), or DIY backdrops. Natural light can also save you from purchasing expensive lighting equipment.


